This stamp set is perfect for those non traditional Christmas cards which I have made over the past few weeks and also for your steampunk creations. I decided to indulge in my love of steampunk for this creation along with some step by steps detailing the process from start to finish.
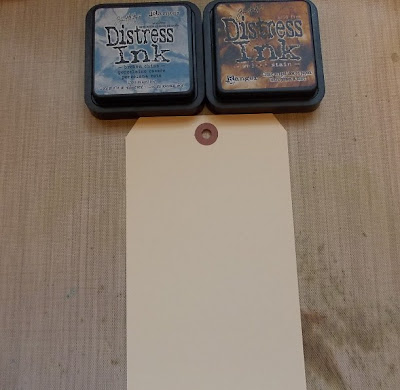
To begin my tag I started with an inky background using broken china and walnut stain Distress Inks.
Add ink directly to a non-stick craft sheet, pressing firmly to release plenty of ink.
Spritz the ink with water to give beads of ink ready to mop up with a tag.
This is the first application. Dry the ink in between each application to prevent any mudding of the colours.
Dab the tag into the remaining ink to give blotches and splatters of ink randomly around the tag, move the tag around whilst tapping the tag into the ink.
Distress the edges with a paper distresser or the edges of a pair of scissors.
Blend walnut stain distress ink around the edges of the tag using an ink blending tool.
I love this technique as a different result is achieved every time and it adds so much interest to a background.
I needed a little more interest in the background and so decided to use Sam Poole's A6 Bubble Wrap stamp. I did not place the stamp onto an acrylic block I used the stamp as is, giving me a more random feel to the background.
I used walnut stain ink to add the Bubble Wrap background, I love the tone on tone look.
The next step was to cut several cogs using Tim's mini gears set, cut from thick white card. I cut two of the gears in half to add to the edges of my tag.
Texture paste was added to each gear to make my tag a little more tactile and to add yet another layer of interest to the background.
I left my cogs to dry which took a couple of hours but you could also dry with a heat tool. This is my excuse to take a break and have a well earned cup of tea!!
Once the texture paste was completely dry I painted with a black Paint Dabber.
I found the black on its own a little flat so added highlights of gold paint dabber with my finger.
Stamp the bird image onto white card using black archival ink and cut out.
Colour the steampunk bird with walnut stain ink. Stamp the bird once again this time cutting out the wing only to add a little more dimension to the bird. Colour the wing with walnut stain ink and add a layer of Clear Rock Candy and once dry add a little more colour with your finger rubbing into the cracks.
For a little more interest and dimension I have added mini gears to the wing and his hat. I have tied several strands of natural twine into a bow and added a mini gear to the top of the bow.Game spinners have been added to two of the gears and I have added "Steampunk Art" stamped onto white card and coloured with walnut stain ink, using the fabulous Art Sayings A5 stamp plate by Sam Poole.
Thanks so much for stopping by. Tracy x x


18 comments:
That inky background is fabulous add in some texture paste and it becomes all the more special.
Wishes
Lynne
Totally love this, Tracy - perfect colour combination in my eyes, and the texture on your gears is fantastic. I've only just started playing with texture paste and this is so inspiring, thank you! Love, love the background - endless variety in wrinkle free distress!
Alison x
Great project along with a fab tutorial, great minds think alike on the grungyness this week. xx
love that Tracy. wonderful colour and texture.
Oh that background!!! Yummy! Love the step out photos too!!! Great tag, just gorgeous!
An unbelievable Tag my dear Tracy.
Thanks for the step by step.
Fantastic work.
Have a lovely weekend my friend.
xoxo
A wonderful tag accompanied by fabulous tutorial photos. Great colour palette and I'm a big fan of texture paste so love what you've done with it.
Juliax
Gorgeous tag Tracy, love the techniques you used! x
A fab steam punk make,love the colours and textures and you have made the bird look fab! Trace x
Gorgeous tag I love all the elements to it. Thanks for the deets & I really like the broken china with the walnut stain xx
Soooo love what you've done here! That bird image is fabulous and the textured gears beg to be touched.
Amazing background Tracy, love the texture :)
What a yummy background! Love those colors blended together. The cogs have the perfect texture for your steampunk bird!
Terrific tutorial Tracy, and I love the tag, the background is fabulous. Thank you for all the great tips! x
Hi Tracy I love this stamp and although the background is stunning I just love the textured cogs x TFS
Annie x
An amazing tag Tracy and a great tutorial.
xxx Hazel.
Wow, Tracy, your tag is fantastic!!! The background is lovely and those cogs look amazing! I've never tried texture paste but you've inspired me to give it a try ;)) xx
ooo, mini cogs! not seen those. Love the texture paste effect
Post a Comment