Friday 30 August 2013

Dimensional Foxglove

This week I have used the fabulous That Special Touch Foxglove Mask to create a dimensional card for Creative Expressions.

This project is also available to print using the link HERE should you wish to try this creation at home.
Apply Wendy Vecchi's White Embossing Paste and Victorian Velvet Distress Paint to a Non-Stick Craft Sheet.
Mix the Paint and Embossing Paste together using a palette knife.
Continue to mix until the colour is fully blended together.
Apply the Embossing Paste through the Foxglove That Special Touch Mask. Applyng green to the leaves and pink to the flowers. I mixed the green using Peeled Paint Distress Paint.
Remove the mask to reveal the embossed design. Set aside to dry.
Add random stamping to the background using the background stamp from the Classics 9 Stamp Set using Victorian Velvet Distress Ink.
Print Foxglove definition using computer generated text, colour the text with Victorian Velvet Distress Ink and add to the top of the card.
Add Remnant Rubs Words to the top and the bottom of the card for added interest. Add a circular tag, adding stamping and button along with Foxglove computer generated text.

Thanks so much for stopping by. Tracy x x


Wednesday 28 August 2013

Artistic Outpost New Release

It't time for another fabulous release from Artistic Outpost, this time around we have CHALK IT UP  and CHALKBOARD WISDOM.
This first plate is CHALK IT UP perfect combination to use with all the other fabulous plates from Artistic Outpost.
This is the second plate CHALKBOARD WISDOM a wonderful selection of sentiments again to combine with many of the other fabulous plates.
I created a card to combine elements from both sets along with the wonderful CHARLES AND AMELIA plate.
I stamped the frame from the CHALK IT UP plate using black Archival Ink and then cut out each frame and added background stamping using the EPHEMERA BACKGROUNDS plate stamping with sepia Archival Ink.
One of the fabulous sentiments has been added to one of the frames and I have distressed the edges to add to the aged feel. I also flicked water onto the Distress Inked background to add blotches. A wing charm has been added, coloured with black paint and Alcohol Inks.
Amelia has been stamped onto the second frame and once again I have added background stamping to add further interest and depth. A second wing charm has been added and I have also included a Faucet Knob to the bottom corner adding a touch of wax to the knob to blend with my background. FLY has been stamped onto white card coloured with Gathered Twigs Distress Ink, the edges distressed to add to the aged feel. The background of my card is a map paper from one of Tim Holtz Paper Stash, crumpled and inked to look like an old map.
Die cut gears have been added, cut from white card and coloured with Gathered Twigs Distress Ink, adding Mini Gears embellishments to the top for added interest along with some background stamping using the EPHEMERA BACKGROUNDS plate.
A wooden arrow, numbers and a DESTINY Philosophy Tag have been added for further interest.

My fellow Design Team members have made some fabulous pieces to inspire you, please pop along and visit their blogs and be inspired along the way

Thanks so much for stopping by. Tracy x x 


Monday 26 August 2013

We Are The Hero Of Our Own Story

We are all going a little dotty this week over on the Simon Says Stamp Monday Challlenge Blog; from polka dots to spotted paper, dotty stamps to dots made with a pen or even embossed dotty card stock, we invite you to get dotty with us this week.
I simply enjoyed myself this week creating a mixed media canvas.
I began by stamping the face image from the Classic 5 stamp set onto a piece of tissue using black Archival Ink and then adhering to the burlap panel using Multi-Medium Matte.
Using the dots stencil I applied white embossing paste to the burlap panel.
Dots were added randomly around my focal image to add dimension and texture.
"We Are The Hero Of Our Own Story" was stamped onto a piece of calico with black Archival Ink and the edges frayed.
The stamped calico was added to the burlap panel along with folded pieces of calico added around the face image to frame her and add another layer of texture.
I have added Remnant Rubs Words to the calico along with more dots using embossing paste.
Once I had layered most of my elements I then added a touch of Melted Chocolate Dylusions Ink Spray for a touch of colour and warmth.
I also added touches of Gesso to the burlap panel to lighten a touch and also added a dimensional bloom using the Tattered Floral die. I also added touches of Gesso to the floral.
I love the motivational Rubs added to the calico and I also added a few Martha Stewart embellishmets for further interest and I also added a touch of Olive Bronze Treasure Gold Wax to the embossing paste dots.
I also adhered some of the loose fibres from the calico to the panel for further texture.
A Prima Typo Zipper has been added to the canvas, which I love as it has the added word 'beauty' engraved on the zipper and I love the dangling heart. Buttons have been added to the centre of my flowers threaded with twine.
To complete I have added Prima Wood Buttons to the centre of each of my large dimensional blooms.
For more great ideas please pop over to the Simon Says Stamp Monday Challenge blog and take a look at my fellow team members they have created some inspirational projects. Remember there is also the chance to win a $50 prize from Simon Says Stamp.  I always look forward to seeing your creations each week.

 Thanks so much for stopping by. Tracy x x 


Products Used:

Tim Holtz Stampers Anonymous Classics 5 Stamp Set
Tim Holtz Burlap Panel
Tim Holtz Idea-ology - Remnant Rubs Words
Tim Holtz Alterations - Tattered Floral Die
Claudine Hellmuth Multi-Medium Matte
Claudine Hellmuth Gesso
Black Archival Ink
Wendy Vecchi Stencils For Art Dots and Stripes Borders
Wendy Vecchi White Embossing Paste
Dylusions Ink Spray - Melted Chocolate
Martha Stewart Heirloom Metal Medallion Embellishments
PaperArtsy Olive Bronze Treasure Gold Metallic Wax
Prima Flowers Typo Zippers
Prima Flowers Engraver Wood Buttons
Twine


Friday 23 August 2013

An Original!

I've used the Posy Floral 1 once again from Creative Expressions to create this weeks DT piece.
This week I have created a floral canvas painting the backdrop with two coats of paint and adding Black Soot Distress Ink to the edges.
Random stamping has been added to the background using the background stamp from the Stampers Anonymous Classics 9 stamp set using Black Archival Ink. I have also added two mini canvases and stamped the posy onto each canvas and coloured with Cosmic Acrylic Drawing Ink (Persian) set.
For added dimension I have added flowers using the Heartfelt Creations Mini Vintage Floret stamp set using Coffee Archival Ink stamped onto Tim Holtz Vintage Shabby Paper Stash adding metal flowers to the centre of each. I have also added the fabulous sentiment to the top of my canvas again coloured with the Drawing Inks.
For further interest I have also added Remnant Rubs Words, I love the bold black against the more subtle background.
A touch more random stamping over the flowrs along with more Remnant Rubs.
The shimmer from the Drawing Inks is fabulous.

Thanks so much for stopping by. Tracy x x

Wednesday 21 August 2013

HALLOWEEN BLOG HOP

Time for our monthly blog hop with Artistic Outpost and the theme this month is HALLOWEEN.
I decided to use the GOTHIC 31 plate along with warm tones using rusty hinge and walnut stain Distress Inks. An embossed Halloween panel has been added to the top corner of my card along with a Halloween Idea-ology embellishment.
I have used the cameo frame die to showcase the wonderful Artistic Outpost image, embossing the outside with a halloween bat texture fade and colouring with Distress Inks. I have die cut an oval from the cameo frame and added three layers to give depth.
A double bow from orange ribbon and black twine has been added along with a SPOOKY embellishment.
The sentiment 'All Hallows' Eve' is from the Gothic 31 plate and has been stamped onto white card with black Archival Ink and coloured with Distress Inks. I have also added the pumpkin along with a Chitchat sticker.
Alpha Parts have been used to add 31 to the cameo frame adding another layer of dimension and interest.
My fellow Design Team members have made some fabulous pieces to inspire you, please pop along and visit their blogs and be inspired along the way.

Artistic Outpost also has a fabulous REFERRAL THEME taking place for August and the theme is ANYTHING GOES using your AO images. There is also a fabulous prize on offer, upload your designs HERE.

Thanks so much for stopping by, Tracy x x


Monday 19 August 2013

Ringmasters Hat

Simon Says Stamp Monday Challege has a fabulous one for you this week, a CARNIVAL themed challenge.You could create a circus themed card; play with the idea of festivals; you could be inspired by bright colours or even create a mask, the choice is yours.
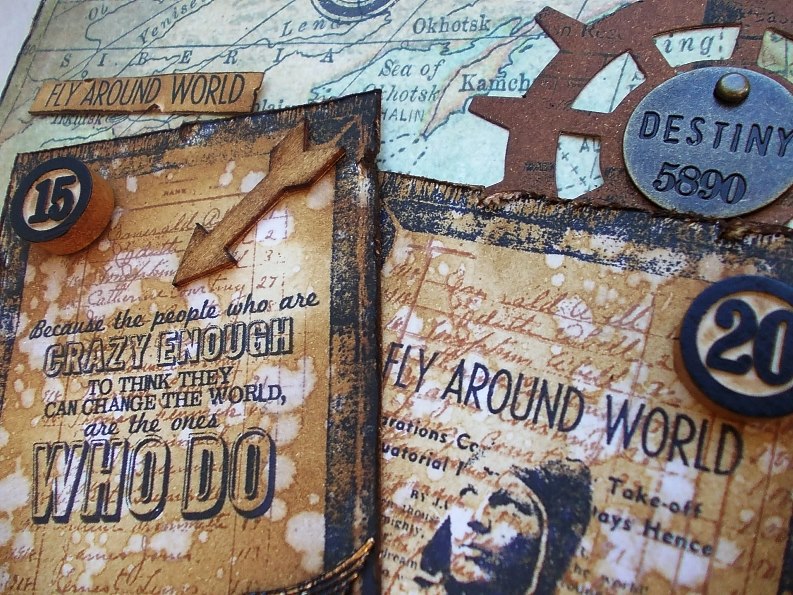
I have to admit I was really stuck for ideas for this challenge until I decided to do a search on the web for circus imagery. I came across images of Ringmasters and decided a Ringmasters hat would be perfect for this challenge. During my search I also found that the origins of the modern circus can be dated quite accurately to 1769 when Philip Astley bought a piece of poperty near Westminster Bridge, London and constructed upon it the very first circus building called The New British School or Amphitheater Riding Ring. He presented his first performance in 1770 and due to its success he had a roof constructed over the performing area and the modern circus was born, albeit not called as such, that came later in 1782. You can find the link HERE. Isn't the web wonderful, with the click of a button you can find so much interesting information!
To begin I cut two circles from white card using the Spellbinders Nestabilities Grand Circles dies.
To decide on the length of the hat I measured the smaller circle with a piece of string and then added a little extra. I then decided to make the width of my top hat 15cm (this will give you the height of the top hat. So I cut a strip of card 15cm in width and the length of my string plus a little extra.
Prior to any colouring I checked that everything would fit ok. Simply roll the strip until the smaller circle fits at the top and you can then glue the strip together once you have coloured.
Apply fired brick and salty ocean Distress Ink to a non-stick craft sheet and spritz with water. Mop up the beads of ink with all the parts of the hat.
Using an ink blending tool apply salty ocean Distress Ink around the edges.
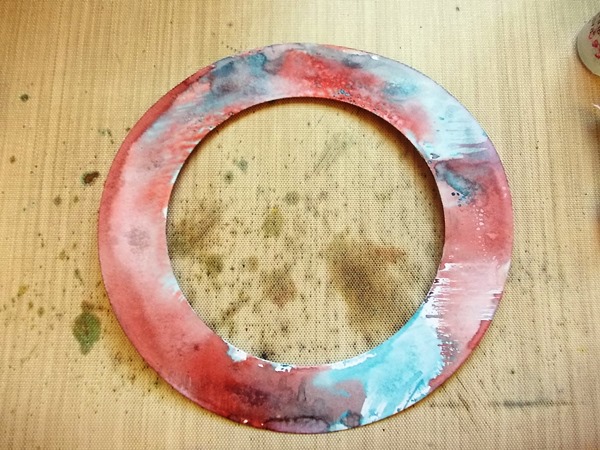
Cut out the centre of the larger circle to create the rim of the hat.
Colour the rim of the hat with Distress Inks.
Colour the strip of card with Distress Inks and then glue the edges of the strip together ensuring that the smaller circle we decorated fits the top rim.
Cut slits into the tube (strip of card we glued together) approx. 1/2" apart and fold down each strip.
Apply glue around the circle and add the circle to the tubing to create the top of the hat.
Now add the rim of the hat to the bottom, again cutting strips from the tub, folding each strip outwards and then adhering to the rim.
I used hinge clips to hold the rim in place until the glue was dry.
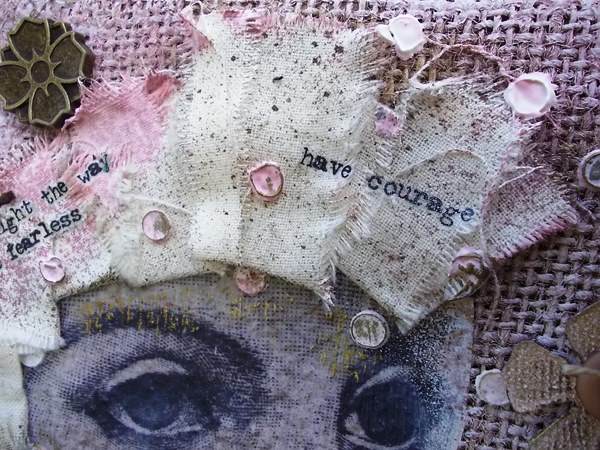
Red and blue twine has been added around the rim of the hat for added texture and Tim's Circus Freak stamp was perfect for adding imagery to my hat, stamped with black Archival Ink.
The sentiment "Life is a Circus" has been added to the rim of my hat, stamped with black Archival Ink and coloured with Distress Inks.
I added a mask to the top of my hat cut from red card adding black highlights with black soot Distress Ink. I also added a tower of tickets using the ticket stamp from the Odds and Ends stamp set and colouring each one with Distress Inks and attaching to a piece of acetate. CIRCUS and FUN have been added using label letters.
I added a lacy trim to the edge of my hat along with CIRCUS using Vintage Circus Alphabet bottle cap images.
Remnant Rubs have been added for further interest around the centre of my hat.
I have also used the Words Remnant Rubs to add 'curiosity' and 'travel the world' to my hat.
More Circus Alphabet images along with some film strip ribbon and label letters.
I have added a game spinner to the clock rub on for further interest and dimension.
For more great ideas please pop over to the Simon Says Stamp Monday Challenge blog and take a look at my fellow team members they have created some inspirational projects. Remember there is also the chance to win a $50 prize from Simon Says Stamp.  I always look forward to seeing your creations each week.
Don't forget our new name Simon Says Stamp Monday Challenge Blog and our new home is HERE.

Thanks so much for stopping by. Tracy x x


Products Used:

Spellbinders Nestabilities Grand Circles
Distress Inks - Fired Brick, Salty Ocean, Black Soot
Non-Stick Craft Sheet
Ink Blending Tool
Tim Holtz Idea-ology - Hinge Clips, Label Letters, Numbers Remnant Rubs, Words Remnant Rubs, Film Strip Ribbon, Game Spinners
Tim Holz Circus Freak Stamp
Tim Holtz Odds and Ends Stamp Set
Twine - Light Blue, May Arts Bittersweet
Black Archival Ink
Stampendous Life Is A Circus Stamp
Spellbinders Venetian Accents
Vintage Circus Bottle Cap Alphabet Images